Any-who! These nails and super simple, and can make you look 10 pounds skinner! Just kidding about that last part, but they do go with a lot of different outfits. What I did was put in an accent nail and I chose Spock's blue for the main nails and Scotty's red for the accent nail. (or a red accent nail honor all the red shirts that have lost their lives on the line of duty.) You don't need to do the accent nail of course, but it is a nice touch and gives a more complex look to such a simple design.
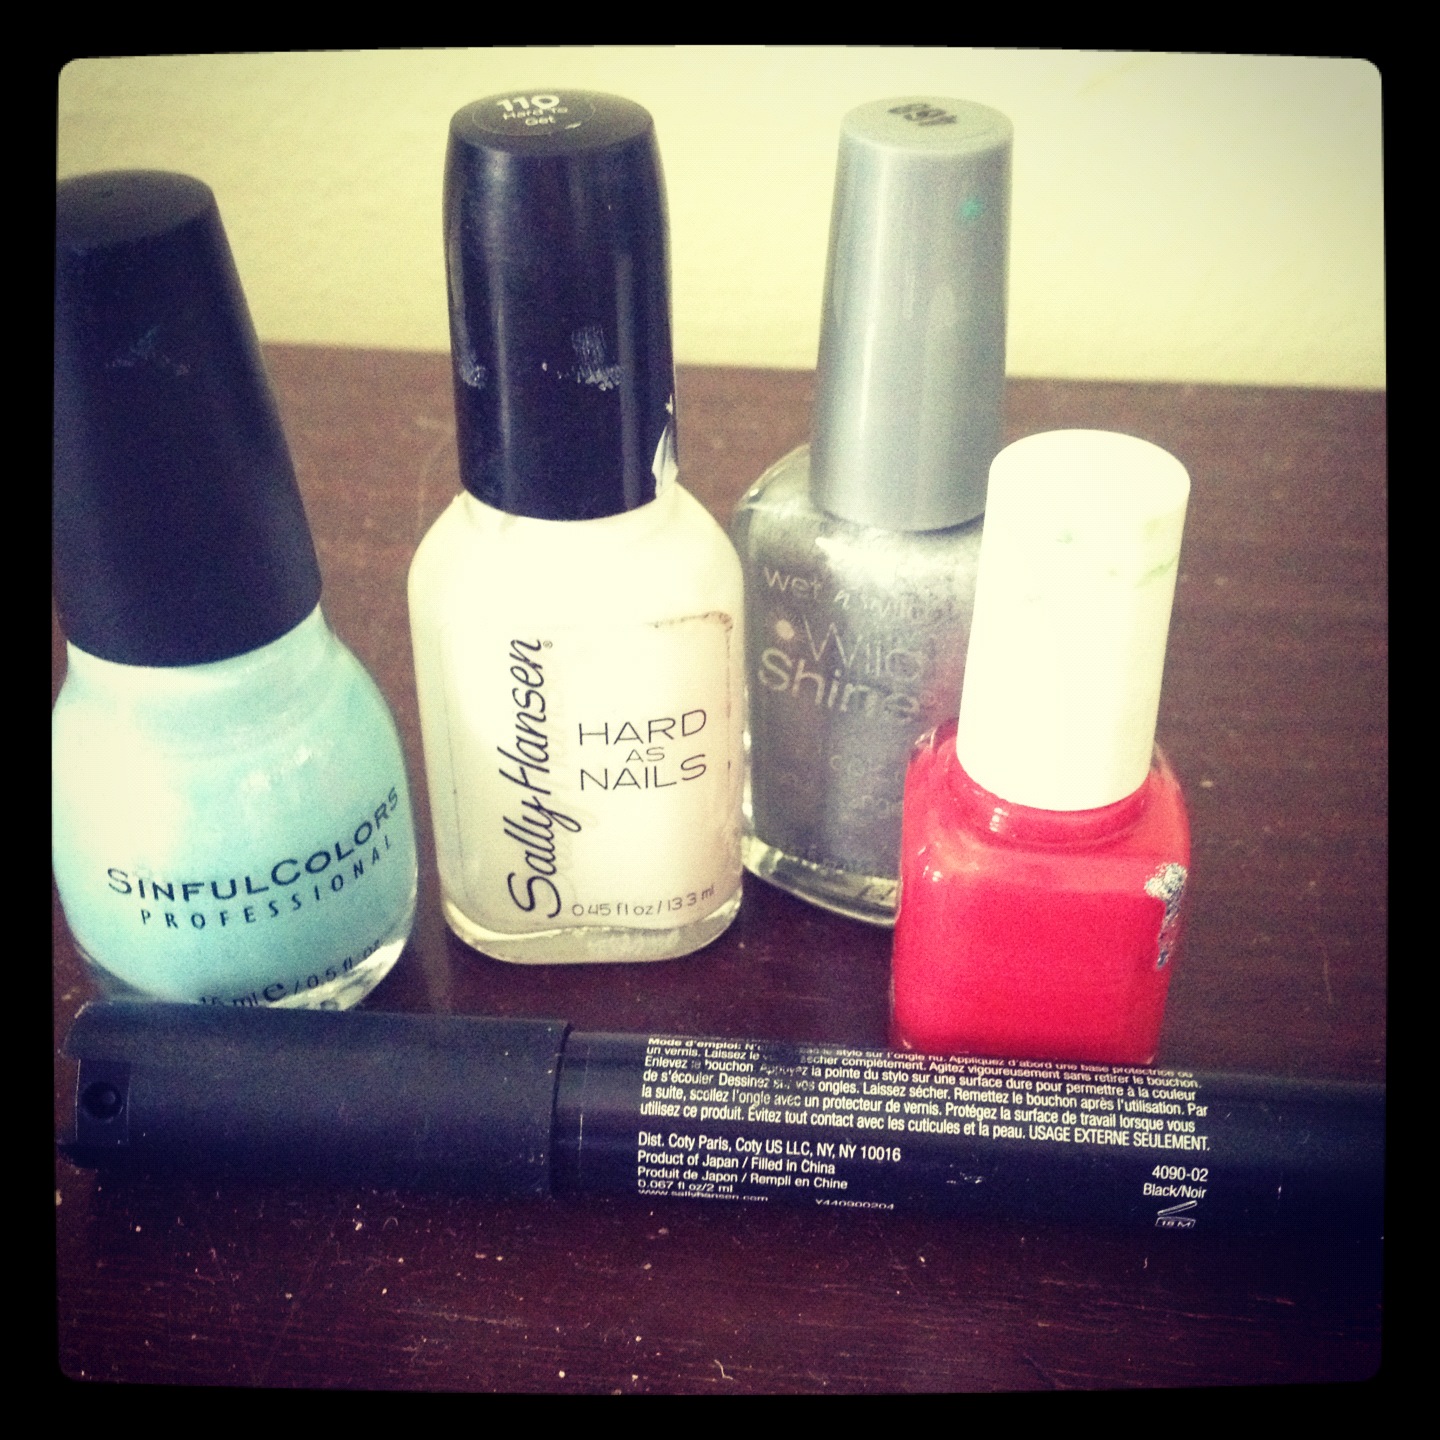
You'll need five colors today
Light Blue, White (optional), Silver, Red, and Black
To make the outline of the badges easier, I use a black nail pen. A skinny brush will also work just fine, you would just have to move nice and slow. If you don't have a skinny brush or nail pen, I have a method for making one of your own!
Click the link below to quickly read how to adjust your nail polish brush! (There will be a return link right on that page as well, so you don't get lost)
STEPS
Step 1:
This is where the optional white comes in. Whenever I have a really light color, in this case blue, I make the white a base coat so the blue will come in more vibrant. You don't have to do this, it just saves you some time with layering up softer colors.
Whether or not you put the white as a base coat, you will now paint your pinky, middle, pointer and thumb blue and then paint your ring finger red, like so...
Step 2:
Take your black pen, or skinny brush and make the badge shape. To make it, you an arrow head shape, except one point is longer than the other. It is quite hard to explain, that is why I have pictures.
Step 3:
Once you have the outline of the badges, you fill them in with the silver. I used a normal brush to fill them in, but you can also use a skinny brush to be more exact. Don't feel the need to be perfectly in the lines, because you will eventually go back over the black outline once more.
Step 4:
Once you fill in the silver, it'll look a little messy. All you need to do is go over the black outline one more time to really clean it up!
And there you have it! Nails and will have you saying "Live long and prosper". Also, sorry for all those Captain Kirk fans out there, if I had a yellow/green color, I would have honored him too, but to be honest, Spock is my favorite. You're welcome Spock.


No comments:
Post a Comment