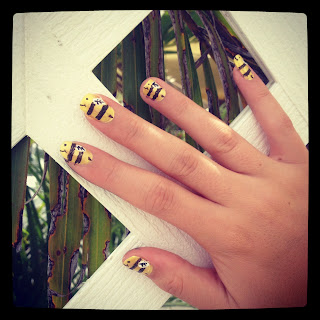
These nails do require a bit of skill to do, but if you give yourself time, you'll do just fine. For this demonstration, I painted my right hand, which means I used my left... duh duh duh. We all know how our non-dominate hand always looks wonderful when our other hand looks like we got into a tragic accident at Sherwin-Williams, but after much practice, you'll be able to match them up pretty evenly. (And to be honest, I did a pretty dang good job for my using my left hand.)
You'll need three colors today
Yellow, White, and Black
And to make life easier, try to use a thick brush for both the yellow and white, and a thin brush or nail pen for the black. If you don't have a thin brush, I'll show you how to make one!
Click the link below to quickly read how to adjust your nail polish brush! (There will be a return link right on that page as well, so you don't get lost)
STEPS
Step 1:
Paint all of your nails a solid yellow. Since yellow is a lighter color, you may have to give yourself 2 or 3 coats.
Step 2:
Step 3:
Place a small triangle at the bottom of your nail. This will be the stinger. (ouch!)
Step 4:
Right behind the wing, make one thick black line, and then right in front of the wing make another black line. There should only be room for two black lines. These will be the bee's stripes.
Alright, this is really starting to look like a bee! Now give your little nail bees happy faces. (or whatever face you so desire. My bees are always happy.)
Step 6:
Give the wings some detail. It really brings everything together. What I do is draw a single line, then do little branches from there.
And there you have it! My bees went and played outside, what will yours do?


No comments:
Post a Comment