Sunday, August 18, 2013

Pirate Nails "4.Summer Caribbean Collection"

ARGG, have you have longed to sail across the sea, search for gold and seek adventure? Or simply just enjoy the look of pirate flags? Well I have some fun nails for you. They will have you looking for buried treasure in your back yard and going to your local pet store for the closest thing they have to a parrot... try not to get too carried away land lovers!

For these nails you will need three different color nail polishes.

Black, Red and White.


Hey, I'm not gonna lie, this one takes some skills to do. The nail pens make it a lot easier, but it's not impossible to do with another brush. Here is a link to how to make a smaller brush that you can use for finer details.

Click the link below to quickly read how to adjust your nail polish brush! (There will be a return link right on that page as well, so you don't get lost) 


STEPS

Step 1:
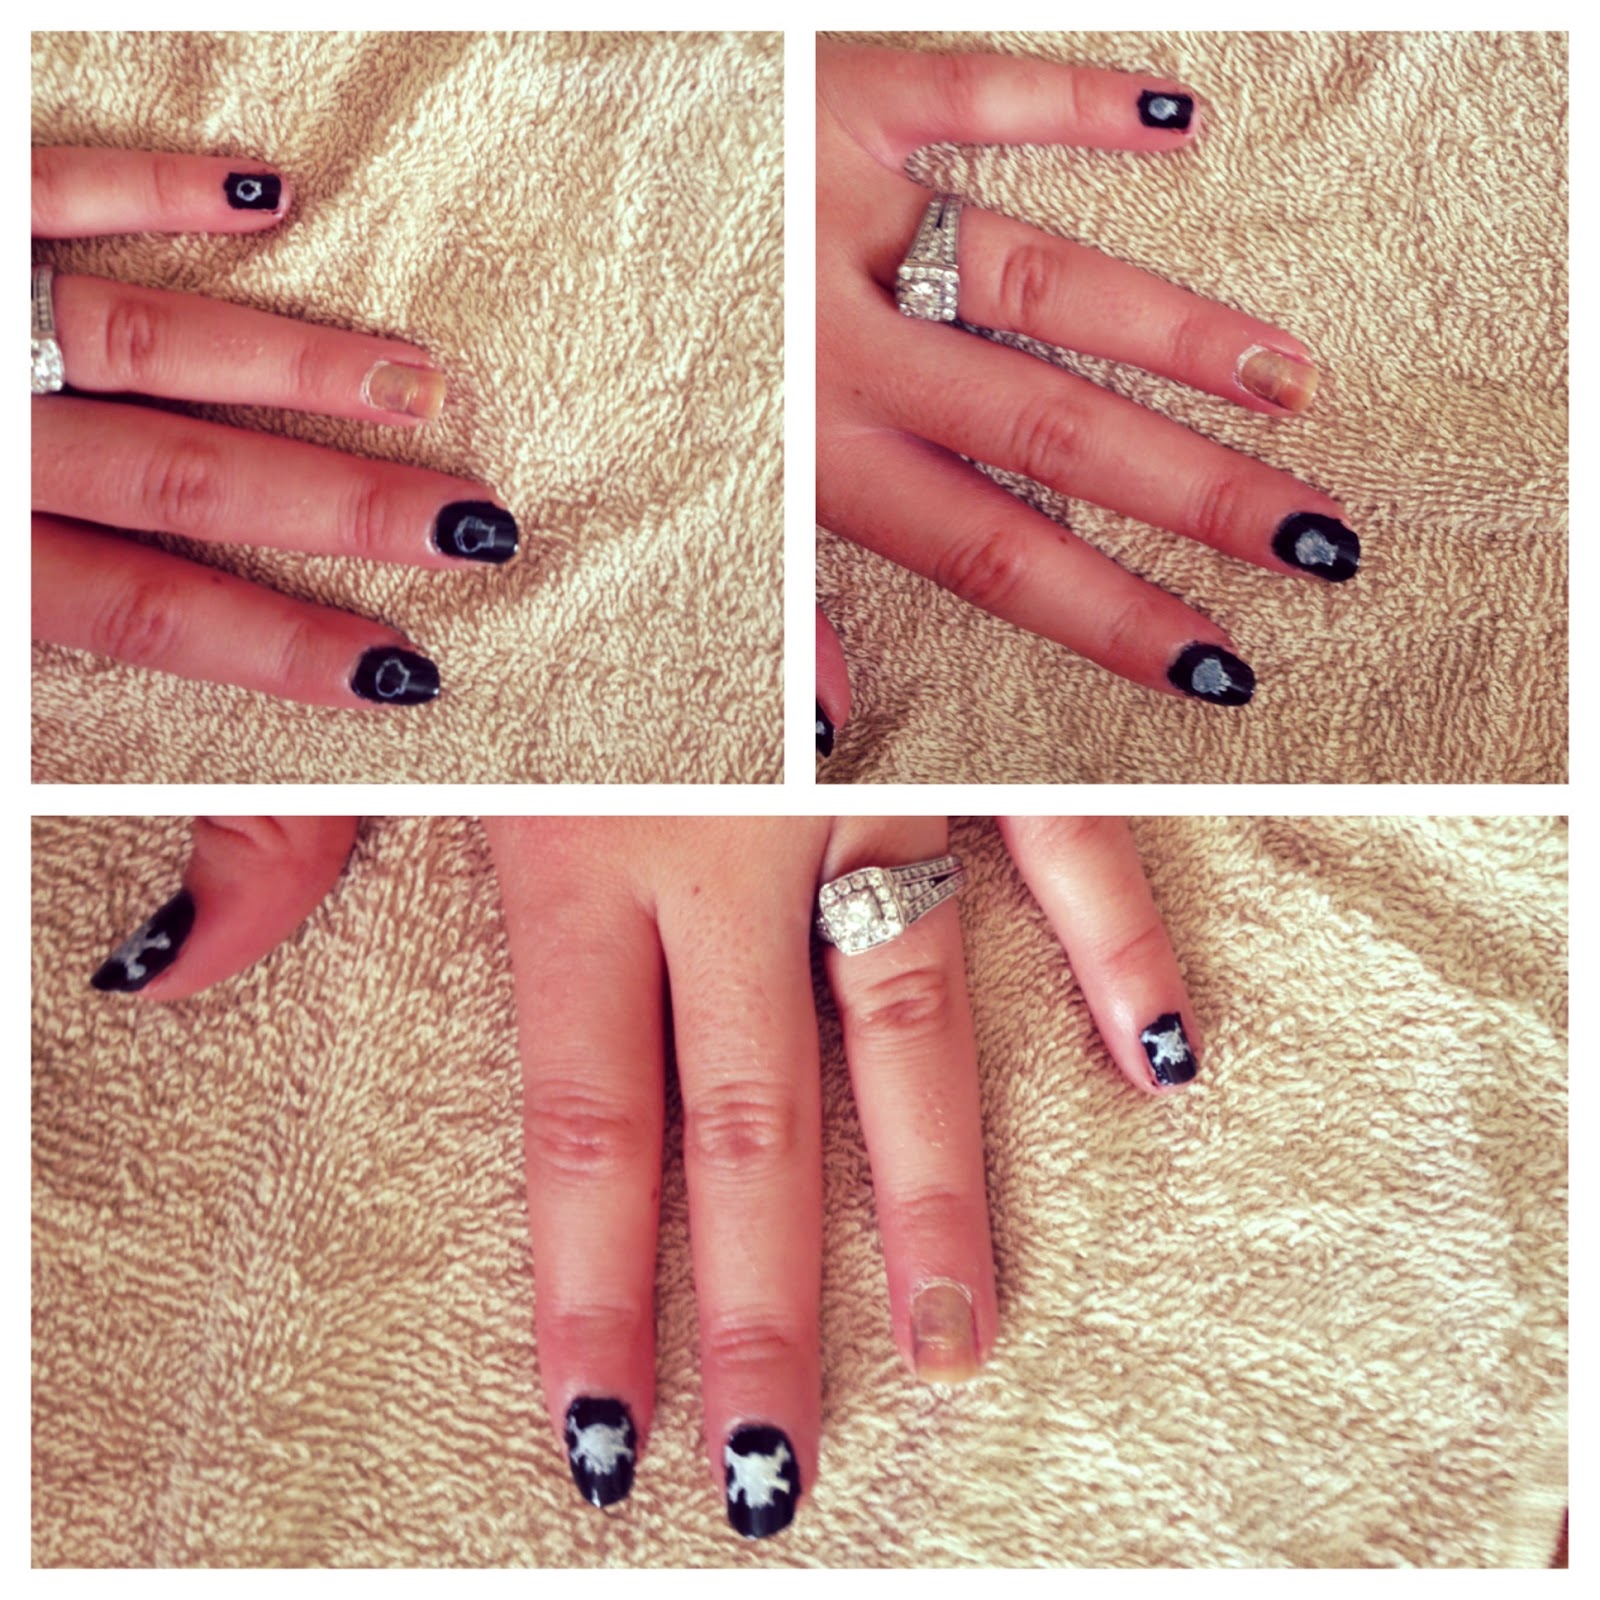
Paint all your nails black, except for your ring finger.


Step 2:
Slowly start drawing the sculls on the black nails. (this is obviously where I started to use the nail pen)

Step 3: 
Add the black details, the eyes and the mouth.


Step 4:
Paint your ring finger nail red.


Step 5:
Give your ring finger white lines.


Now you are all ready to set sail! Just remember to stay safe out there and get as much booty as you can!


Sunday, August 4, 2013

Beach Nails "3.Summer Caribbean Collection"

When you think of Caribbean, you think of white sandy beaches, crystal blue water and having a nice relaxing day at the beach. These nails are for all the beach lovers out there, and I know there are a lot of you. I spend a good amount of time at the beach and that's what really motivated me to do these particular nails. You will want to have around 8 colors for these nails. I know that's a lot, but you don't really use a whole lot of each color.

Light Blue, Dark Blue, Light Brown, Orange, White and Pink


As you can see, I have my nail pens. If you don't have a fine point nail pen, just use a fine point marker or something similar and dip it into black nail polish. That works just fine. Also, I have my fancy skinny brush. You can make one yourself if you don't already own one and this is how...

Click the link below to quickly read how to adjust your nail polish brush! (There will be a return link right on that page as well, so you don't get lost) 


STEPS
Step 1:
Paint the bottom half of your nails light brown. That is the sand, of course. 


Step 2:
Paint the top half blue, this will be the water. 

Step 3:
These are where the fun little details come in. I put a star fish on one of my nails and some flip flops on the other. For the star fish, I just put an orange star with a small brush and the flip flops, 2 ovals, with a small brush as well. 

Step 4:
Add the thong part to the flip flops! (My nail pen is a little inky because it's new, so it's a tad bit more messy than what it should look like.)

Step 5:
Add some white water deals, I put it right where the water and beach meet and some randomly out in the water. 

Step 6:
Clean it up a little bit. I used a blue nail pen to get a few extra details in there, but that isn't really necessary if you don't want to. 

That was my third addition to my Summer Caribbean Collection. Keep your eye out for more, and there will be much much more coming your way... and remember, enjoy the beach!