Sunday, August 18, 2013

Pirate Nails "4.Summer Caribbean Collection"

ARGG, have you have longed to sail across the sea, search for gold and seek adventure? Or simply just enjoy the look of pirate flags? Well I have some fun nails for you. They will have you looking for buried treasure in your back yard and going to your local pet store for the closest thing they have to a parrot... try not to get too carried away land lovers!

For these nails you will need three different color nail polishes.

Black, Red and White.


Hey, I'm not gonna lie, this one takes some skills to do. The nail pens make it a lot easier, but it's not impossible to do with another brush. Here is a link to how to make a smaller brush that you can use for finer details.

Click the link below to quickly read how to adjust your nail polish brush! (There will be a return link right on that page as well, so you don't get lost) 


STEPS

Step 1:
Paint all your nails black, except for your ring finger.


Step 2:
Slowly start drawing the sculls on the black nails. (this is obviously where I started to use the nail pen)

Step 3: 
Add the black details, the eyes and the mouth.


Step 4:
Paint your ring finger nail red.


Step 5:
Give your ring finger white lines.


Now you are all ready to set sail! Just remember to stay safe out there and get as much booty as you can!


Sunday, August 4, 2013

Beach Nails "3.Summer Caribbean Collection"

When you think of Caribbean, you think of white sandy beaches, crystal blue water and having a nice relaxing day at the beach. These nails are for all the beach lovers out there, and I know there are a lot of you. I spend a good amount of time at the beach and that's what really motivated me to do these particular nails. You will want to have around 8 colors for these nails. I know that's a lot, but you don't really use a whole lot of each color.

Light Blue, Dark Blue, Light Brown, Orange, White and Pink


As you can see, I have my nail pens. If you don't have a fine point nail pen, just use a fine point marker or something similar and dip it into black nail polish. That works just fine. Also, I have my fancy skinny brush. You can make one yourself if you don't already own one and this is how...

Click the link below to quickly read how to adjust your nail polish brush! (There will be a return link right on that page as well, so you don't get lost) 


STEPS
Step 1:
Paint the bottom half of your nails light brown. That is the sand, of course. 


Step 2:
Paint the top half blue, this will be the water. 

Step 3:
These are where the fun little details come in. I put a star fish on one of my nails and some flip flops on the other. For the star fish, I just put an orange star with a small brush and the flip flops, 2 ovals, with a small brush as well. 

Step 4:
Add the thong part to the flip flops! (My nail pen is a little inky because it's new, so it's a tad bit more messy than what it should look like.)

Step 5:
Add some white water deals, I put it right where the water and beach meet and some randomly out in the water. 

Step 6:
Clean it up a little bit. I used a blue nail pen to get a few extra details in there, but that isn't really necessary if you don't want to. 

That was my third addition to my Summer Caribbean Collection. Keep your eye out for more, and there will be much much more coming your way... and remember, enjoy the beach!


Friday, July 26, 2013

Bikini Babe Nails "2.Summer Caribbean Collection"

Here is my second installment of my "Summer Caribbean Collection". They are kind of silly, but that's what I like about them. They are great for the beach, or a rainy day when you wish that you could be at the beach. With these also, you can match your nails with your bikini, or just be fun and creative!

You'll need 2 colors today for sure...

Black, White and Tan
(and then any other colors of your choice!)


As you can see, I have my nail pen and a smaller brush. If you don't have a fine point nail pen, just use a fine point marker or something similar and dip it into black nail polish. That works just fine. Also, I have my fancy skinny brush. You can make one yourself if you don't already own one and this is how...

Click the link below to quickly read how to adjust your nail polish brush! (There will be a return link right on that page as well, so you don't get lost) 


STEPS
Step 1:
Paint your nails and solid tan color.

Step 2:
These are a few steps in one... in the picture first you draw the bottoms. Then you do a dot for the belly button and the top. It is pretty simple. Also, if you don't have a nail pen for this part, or a makeshift marker nail pen, you don't really need to do this step if you think you can make the shape on your own with the colors you have chosen for your bikinis. Just make sure you got the shape down!


Step 3:
Color in your bikinis!


Step 4:
Add white polkadots! (optional)

Thanks for checking out my blog today, I hope you enjoyed my Bikini Babe nails! These are super easy and you can add your own style to them. Don't forget to keep your eyes out for my more of my Summer Caribbean Collection!

Sunday, July 21, 2013

Palm Nails 1. "Summer Caribbean Collection"

So my mother requested that I did more Caribbean themed nails, since I live in the Caribbean and it would only make sense. Therefore, I'm making my "Summer Caribbean Collection"! I will be doing maybe around 10 different styles, as long as I keep the ideas coming. 

My first installment in the Summer Caribbean Collection are one of what will be a few Palm Tree Nails. Palm tree nails are very popular, and I wanted to try something a little different today. I hope you enjoy them. They are simple, not meant to be too bright and flamboyant. There are five soft colors you will use...

Mint, Green, Light Blue, Soft Brown, and Black

As you can see, I have my nail pen and a smaller brush. My nail pen is officially dried up, and I'm just using it as a fine point brush and dipping it into the black. That works just fine. Also, I have my fancy skinny brush. You can make one yourself if you don't already own one and this is how...

Click the link below to quickly read how to adjust your nail polish brush! (There will be a return link right on that page as well, so you don't get lost) 


STEPS

Step 1:
Paint your nails a solid mint color.
Step 2:
Over lap some of the mint with the light blue starting from the bottom up. Leave some of the mint color at the tips of your nails. It gives it a fading effect.


Step 3:
Use a finer brush for these little details. Do the outline of your palm trees in the corner of your nails. 


Step 4:
With the fine brush again, give your nail a little bird in the distance.


Step 5:
With a smaller green brush, go over the black to give the palm trees some color.


Step 6:
Go over the palm trees with the light brown and the black again. You don't want them to blend into the back ground! 


Keep your eyes out for more of the Summer Caribbean Collection! 


Sunday, July 14, 2013

Fun Summer Manicure Nails

I love a good manicure, it's timeless, goes with everything and are classy. Sometimes I like to spice it up though. A manicure can get a little... well... boring. I added some sparkles, colors and fun to the equation and so could you. I used some of my favorite summer colors, but you can use whatever colors your heart desires! I used...

Gold, Mint, Silver and Blue Sparkles


One thing that I might have that you don't are all my "special" nail art tools! This design I uses two different brushes. My first, a normal nail polish brush, and my second, a thinner brush to make smaller lines. If you don't have the thinner nail brush or pen, this is what I would do (and have done).

Click the link below to quickly read how to adjust your nail polish brush! (There will be a return link right on that page as well, so you don't get lost) 


STEPS
Step 1:
Paint your nails a solid color. I chose gold for my base color.


Step 2:
Paint the top half of your nails another color! I chose mint for my top color.


Step 3:
Make small vertical stripes on the top part of your nails. I had to use my skinny brush for this part. I chose the color silver because it really stands out.


Step 4:
Using the skinny brush again, I made a line horizontal line in-between the top and the bottom. To make my line unique, I used one of my more flashy nail polishes, blue sparkles! 

These are some nails that will stand out among others. It has the spirit of summer and you can really make it your own! Say goodbye to boring manicures, say hello to being unique. =]

Tuesday, July 9, 2013

Pac Man Nails

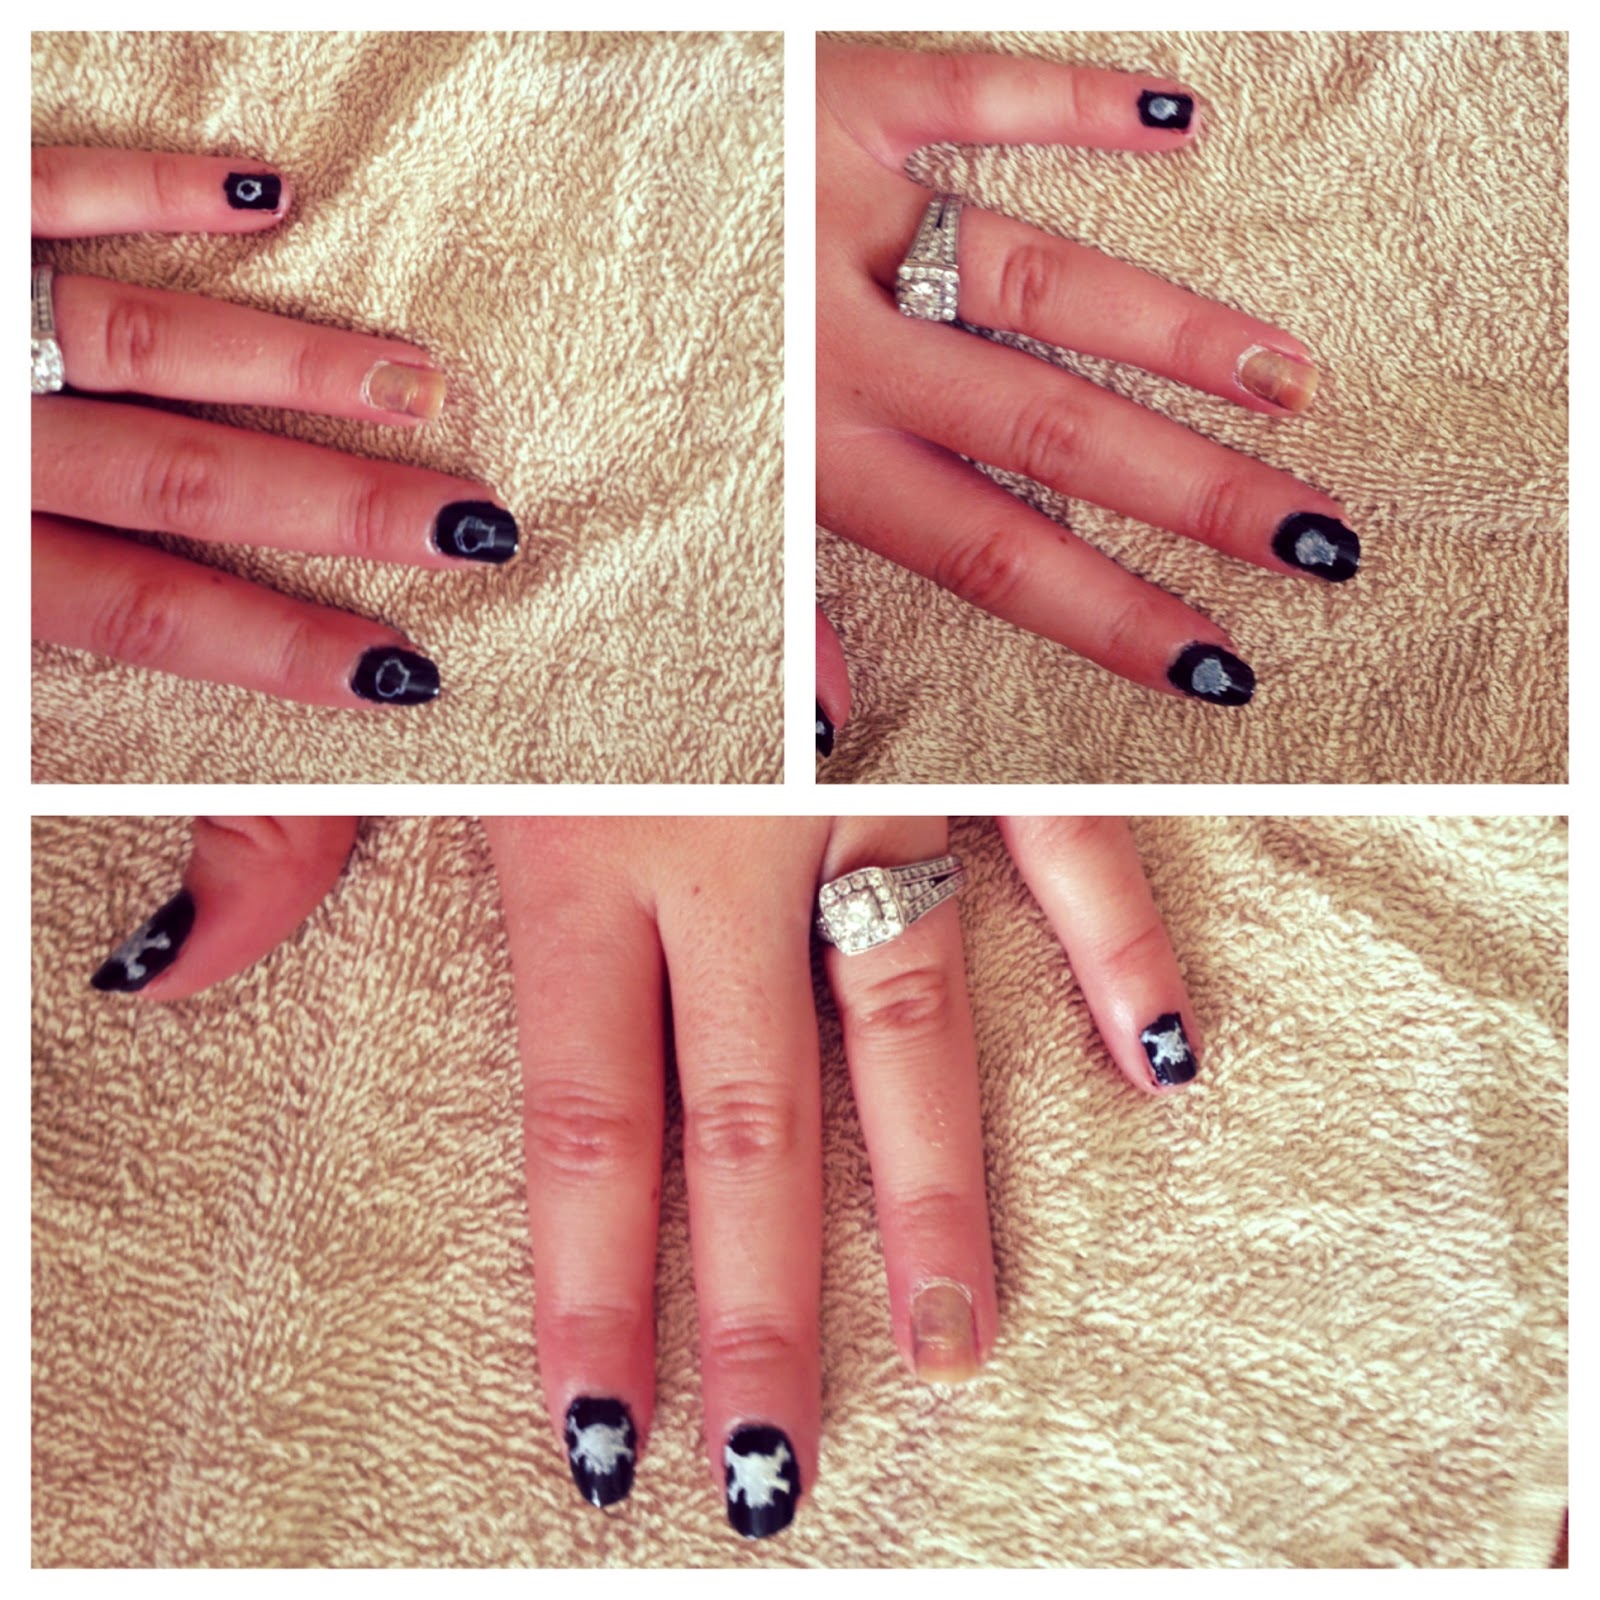
We all know the classic game, Pac Man, and hopefully we have all played it too. It is addicting and anyone can play it! Now you can bring your love for classic games into your everyday style! It really doesn't take much time at all and is totally geek chique. 

The fun part about these nails is that almost every nail is different! I tried to capture the whole game on one hand, so hang in there and follow the instructions! You will be using five different colors today...

White, Green, Yellow, Black and Blue

It takes two different kinds of brushes to do these nails; a normal brush and a skinny brush. There are very few things you need to use the skinny brush for, and if you don't have a skinny brush, I've perfected a way for you to make a skinny brush out of one of your own old brushes! 

Click the link below to quickly read how to adjust your nail polish brush! (There will be a return link right on that page as well, so you don't get lost) 


STEPS
 Step 1:
Paint all of your nails a solid black.

Step 2:
Outline all of your nails with a dark blue. In the picture it is hard to see, but it gives it the look of the walls that you see in the game. Super cool, right?
Step 3:
Dot time! You want to put a big dot in the center of your thumb... this will eventually be Pac Man. Then you want to put two smaller dots in the center of your pointer finger, middle and pinky. All these dots are big enough where you can do them with a normal brush!

Step 4:
You want to color in the white dot on your thumb nail yellow. We colored it white in the first place so the yellow would really pop on the black nail. (Sorry my nails look a little messy, I clean them up after, my bad)

Step 5:
So I'm not sure what color you want to do your ghost, but I chose green for mine. They come in all different colors, so it really is up to you! I also used a big brush for him. (mine is a guy) It's simple really, just make a small rectangle, but leave the top end curved. 

Step 6:
With your small brush, put two little dots, as eyes, on your little ghost. 
Step 7:
Ok, we aren't done there! Every ghost as a navy blue pupil. This you will obviously also do with a small brush again. Very steadily put small pupils into of the ghost's white eyes.
 
Step 8:
Last step! You want to pay attention to Mr. Pac Man over on your thumb now. With a normal brush (or small one, which ever one you feel more comfortable with) make a triangle for his mouth and then a black dot for his eye. 

Are you playing Pac Man right now or is that just your nails? Now you're totally geeked out with your super awesome nerd nails. Play on playa, play on Pac Man, that is. 

Sunday, June 30, 2013

Mint Sparkles Nails

Do you ever just wake up feeling... sassy? Or you are about to plan a hot night out and need the nails to match your attitude? Well mint is one of my personal favorite colors, matches everything I own, and it comes off classy and sexy at the same time. And why not add a little flare to your nails? Sparkles will catch anyones eye. Don't worry though, these nails are SUPER simple and only require three colors!

Mint, Navy Blue, and Sparkles (of any color)

You can choose to only use the normal brush for these nails if you have steady hands, or use a skinny brush to make things easier. It's up to you! If you're feeling a bit shaky today, I recommend you use a skinny brush, and if you don't have one, I'll show you how to make one! 

Click the link below to quickly read how to adjust your nail polish brush! (There will be a return link right on that page as well, so you don't get lost) 


STEPS

Step 1:
Paint your nails a solid mint color.

Step 2:
Paint a corner of your nail with the sparkly nail polish. An acute triangle shape. You may need to do more than 1 or 2 layers for this, depending on the polish you have. 


Step 3:
Use the navy blue to make a border between the sparkles and the mint paint, to give it more definition and make the colors pop. This line you can do with either a skinny brush or a normal brush.

See?! Super easy and super fabulous! It takes no time at all to do these nails and will have you standing out in a crowd. Nails are accessories too, and theres no reason to not have a little bling now and again.